Curiosita Labs

Thoughts on programming, web development and design.

Circuit Board

Fixing CSS Issue with Social Media Buttons

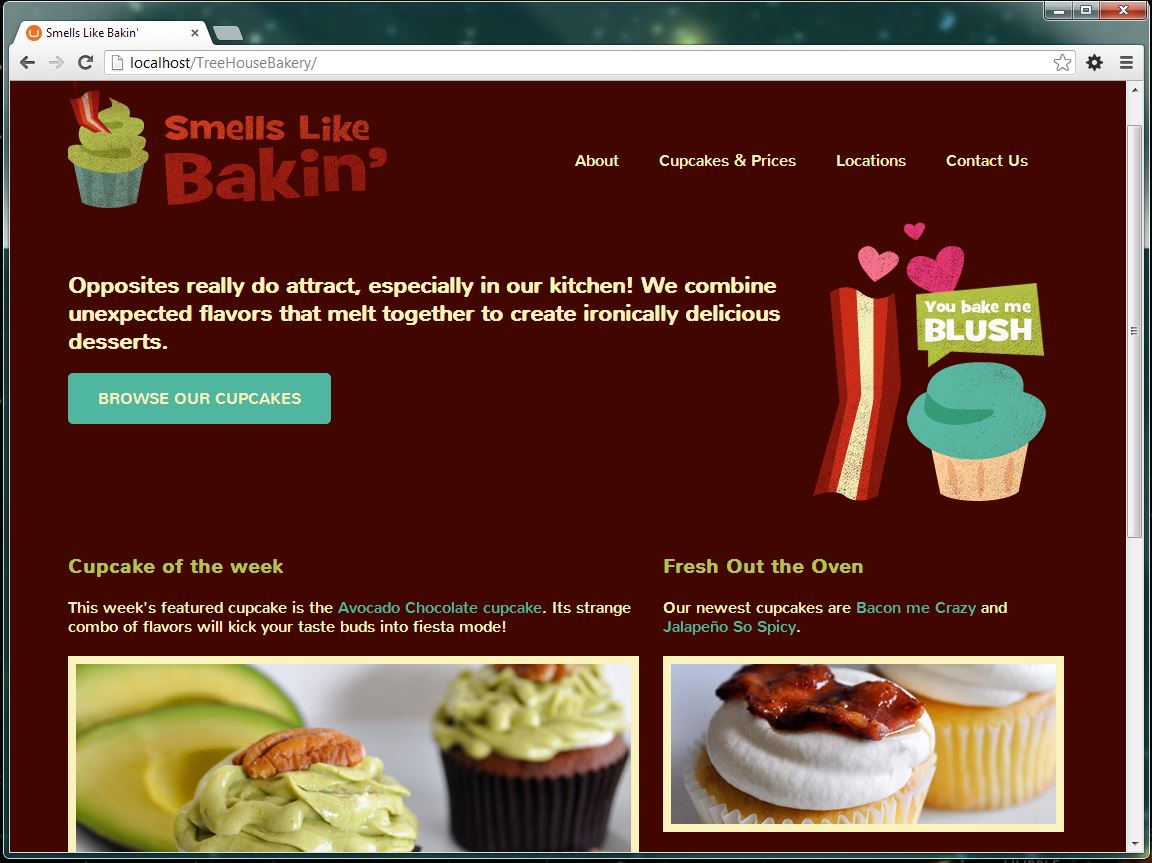
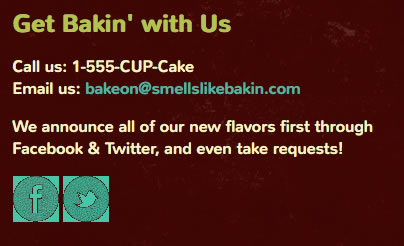
While building the Smells Like Bakin’ website, I followed an example. The example uses CSS to create the hover effect for two social media buttons. When you hover over either Twitter or Facebook, a box appears behind both icons.
Get Bakin Original

Code

The HTML Code looks like this:

<div class="grid_5 omega" id="butt">
<h2>Get Bakin' with Us</h2>
<div id="contact">
<p>Call us: <span>1-555-CUP-Cake</span><br>
Email us: <a href="#">bakeon@smellslikebakin.com</a>
</p>
</div>
<p>
We announce all of our new flavors first through Facebook & Twitter, and even take requests!
</p>
<a href="http://www.facebook.com/SmellsLikeBakin">
<img src="img/facebook.gif" alt="facebook"></a>
<a href="http://www.twitter.com/#!/smellsliekbakin">
<img src="img/twitter.gif" alt="twitter"></a>
</div>

The CSS looks like:

#butt:hover img {
background-color: #4CC4A7;
}

To Fix

For this project, I wanted the hover to show only for the specific icon that you are hovering the mouse over. The first step was to change the #butt from an id selector to a class. Second, I applied the class to each link. Third, I removed the id from the div. The result is a box appear behind each icon when you hover over them.

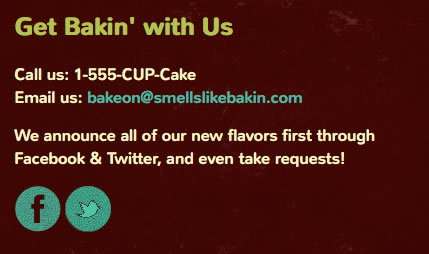
Both icons are circles, not boxes. I didn’t like a box appearing behind the icons. I wanted to change the hover to show a circle instead of a box. I changed to code to create a rounded background by using CSS Circles.

The new code looks like this:

<div class="grid_5 omega">
<h2>Get Bakin' with Us</h2>
<div id="contact">
<p>Call us: <span>1-555-CUP-Cake</span><br>
Email us: <a href="#">bakeon@smellslikebakin.com</a>
</p>
</div>
<p>
We announce all of our new flavors first through Facebook & Twitter, and even take requests!
</p>
<a href="http://www.facebook.com/SmellsLikeBakin" class="butt">
<img src="img/facebook.gif" alt="facebook"></a>
<a href="http://www.twitter.com/#!/smellsliekbakin" class="butt">
<img src="img/twitter.gif" alt="twitter"></a>
</div>

CSS

.butt:hover img {
background-color: #4CC4A7;
border-radius: 50%;
width: 46px;
height: 46px;}

Now, the result is a circle appears behind each icon when you hover over them.
Get Bakin Button Fix

Related Article

Bakin with a CMS

What you can do to manage Legacy code

At the Milwaukee PHP Meetup, Arlen Walker talked about how to deal with legacy code. When you write code, you have to manage legacy code. Legacy code can be defined as code that “you don’t understand the code and you have to maintain it”. For more definitions, check out StackExchange discussion on when is code code.

What are your choices?

You could rewrite the code from scratch. Rewriting the code takes time. Time that you may not have. Or you could make the worst part a little bit better. Look at the code and determine what is the worst part about it and improve that piece.

Use code smells to determine where the trouble spots are. You may find problems like long argument lists, long methods, large classes and complex code.

Remember: If you don’t have tests, you have legacy code.

For more details, read Arlen’s slides to learn about managing legacy code:

Bakin’ with a CMS

How do you learn a new content management system? You build a website with it. A sample website works best because you can delete it if you don’t like the results or even the CMS. I used the Smells Like Bakin’ tutorial from Treehouse and a CMS called Umbraco. Treehouse uses Smells Like Bakin’ to teach how to build a simple website. Umbraco is an open source ASP.Net CMS.

Smells Like Bakin in Umbraco CMS

Building the website

  1. Download and install Umbraco.
    I followed the manual install instructions. Umbraco lets you use an installer. I choose to do it manually, so I could learn what the install process is. The manual process was quick and easy to follow.
  2. Download and install the files for Smells Like Bakin.
    Instead of following the tutorial, I found a copy of the site on github.
  3. Install a starter kit in Umbraco.
    Umbraco lets you install it without a starter kit. Without a starter kit, you need to create your own document types and templates. To save time, it is easier to install a starter kit. Umbraco has several to choose from. I chose the HTML5 Boilerplate. It creates a simple website based on HTML5 Boilerplate.
  4. Modify the templates.
    HTML5 Boilerplate starter kit comes with 3 templates: a master page, a home page and a generic page. Using the Smells Like Bakin’ github download, I started to modified the templates. Umbraco uses master pages. The master page template is used by the home page and generic page template. I added the header, navigation and footer to the master page.
  5. Modify the CSS.
    You can add and modify CSS inside Umbraco. It let you create additional styles that can be used in the CMS editor. These styles makes it easy for a content editor to use them without any knowledge of CSS. For this test, I added the existing styles from my example and then made a few adjustments to it.
  6. Create the Home Page.
    I used the home page template to create the Home page. Then, I added the content and images to the page.
  7. Create an additional page.
    My example of the Smells Like Bakin’ had only one web page. I created an additional page to test the generic page template in Umbraco.

Lessons Learned

  • When installing Umbraco, select and install a starter kit. A starter kit makes your life easier. The type of starter kit depends on what you want to do with the site. Before installing Umbraco, identify the starter kit that fits your needs.
  • Using a Grid 12 system, it made building the website quicker than developing your own. The HTML gitHub example used a Grid 12 system.
  • Umbraco lets you store images inside the database or externally in a file folder as part of the website. Before you build the site, you want to determine which images are added to the database.

With Umbraco, you have to have an idea of what you want to do with it before you start. Umbraco offers the flexibility of page templates, packages(plugins) and XSLT macros. It provides greater control over design and code/markup. As a CMS, it isn’t the type where you can install and be up and running in 5 minutes. If you want that, you are going to need a different CMS.

Related Article

If you need a different CMS, check out CMS Showdown at Web414 Meetup.

From a Brochure to Website

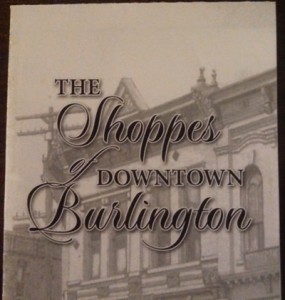
Ideas for a website come form all kinds of sources. We went from a brochure to a website. My client wanted a website to let visitors learn what Historic Downtown Burlington Wisconsin had to offer. The downtown has historic buildings with great architecture and unique businesses.

Started with a brochure

The downtown businesses had a brochure created that contained a map and information on their businesses. I used the map as a starting point. Then, I researched websites of historic downtown’s. I found a couple and looked at how they were organized and what kind of content they had.

he Shoppes of Downtown Burlington Wisconsin

Next, I created a paper prototype using the brochure to decide how to separate and organize the businesses based on categories. The businesses were separated into three categories: Shop, Dine and Visit. We added a history page, so people could learn a little bit more about Burlington, Wisconsin.

Vintage Design

After completing a paper prototype, I researched vintage design. I learned what type of colors, fonts and other decorative elements that were used. While I researched vintage design, I found an old poster that inspired the initial color scheme. Once, I had the color scheme and fonts, I created a prototype using Adobe Fireworks. I worked with the client to make a few adjustments to the logo and the overall design.

From design to website

We decided to build the site in WordPress using a custom theme. I created the custom theme using the Toolbox Starter theme. Then, I added the original content from the brochure to the site. As the client reviewed the site, the client wanted to make a few changes. We added additional businesses, more pictures of the downtown and altered the color scheme.

Historic Downtown Burlington WisconsinWhat I Learned

Every project is unique. Some go smoothly and others do not. While working on this project, I learned at least three things:

  • Your color inspiration doesn’t always translate well to a website. What looks good as a poster, may not translate well as a website. The colors I chose were too strong for a vintage design.
  • Pinterest is a great tool for researching. I found a board that had Vintage Design color schemes. This board helped in deciding which colors to change and which ones to keep. Our end result gave the site a more historical look.
  • Taking photos of the businesses was challenging. My camera picked up the reflection of the street on the windows. I discovered that removing it with Photoshop is time-consuming. With practice, l learned how to find the best angle to limit the amount of reflection.

Have you built a website from a brochure?

Responsive Design Process

Computer CodingResponsive Design focuses on building websites that work on different devices. Your web designs should look good no matter what device your user is using. Responsive design requires changing how you build websites. There are many techniques for developing a responsive design. Tristan on Heliomblog suggests adopting a responsive web design process. This process emphasize content first. Web design works best when you have the content completed first. Then, use a mobile first strategy. It is easier to add on to a design for desktop users than it is to take things away for mobile.

No design and development process is perfect. You have to make changes as you discover what does and doesn’t work in your design. Design is solving problems, not just making things look pretty.


Related Article

Page 33 of 52

Powered by WordPress & Theme by Anders Norén